In a world overflowing with videos, sometimes less is more. Whether it’s that epic family gathering or your cat’s latest mischief, trimming your clips can turn a lengthy saga into a snappy masterpiece. But how do you slice and dice those moments on your iPhone without needing a degree in film editing? Fear not, aspiring Spielberg, because trimming videos on your device is as easy as pie—if pie were a simple tap away!
How Do I Trim a Video on My iPhone
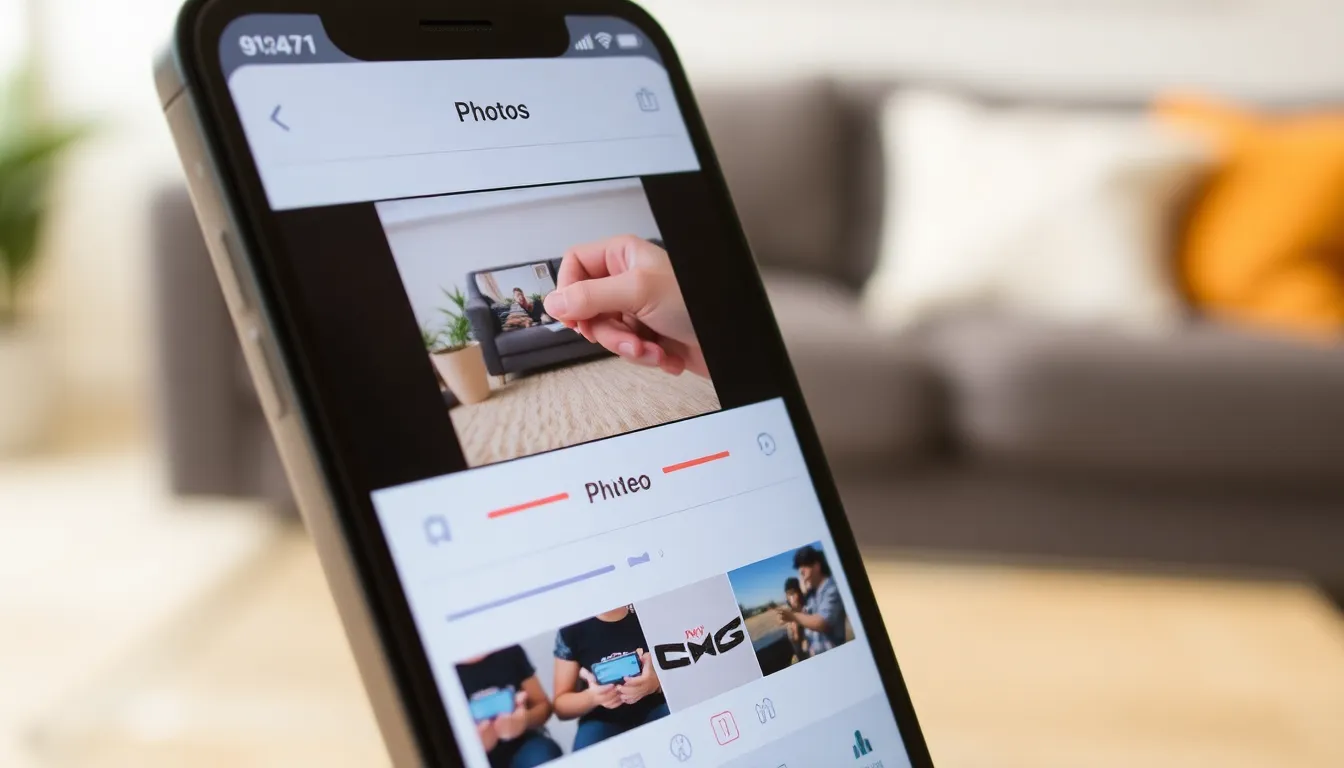
Trimming a video on an iPhone involves a simple process within the Photos app. First, locate the video in the library. Tap on the video to open it and select the “Edit” option in the upper right corner.
The trimming interface appears after tapping “Edit.” A timeline shows the video length with handles on both ends. Drag the left handle to the right to set the starting point. Move the right handle to the left to set the endpoint.
Previewing the video can provide a clearer understanding of the trim. The play button allows for quick playback before finalizing changes. After deciding on the desired section, press “Done” to save the trimmed video.
Users can choose between “Save Video” or “Save Video as New Clip.” Selecting “Save Video” will overwrite the original file, while “Save Video as New Clip” retains the original.
Trimming videos works well for eliminating unwanted parts and enhances the storytelling aspect. This feature maintains high-quality output, making it suitable for sharing on social media.
Trimming can also be done seamlessly for multiple videos, repeating these steps as needed. Frequent users find the process intuitive, which helps them create polished content effortlessly.
Preparing to Trim Your Video
Trimming a video on an iPhone starts with the right preparations. Begin by identifying the video you want to edit.
Selecting the Right Video
Locate the video that captures the moments you want to keep. Ensure the clip is stored in your device’s Photos library. Preview your videos in the Photos app to spot the right one. Users often find it helpful to check the date or event for easier identification. After selecting, tap to highlight the video before proceeding to the editing phase.
Accessing the Photos App
Open the Photos app on your iPhone to start editing. This app serves as the main hub for your media files. Tap the “Albums” tab at the bottom, then select “Videos” to filter your content. Users can also search by keywords or date ranges for quicker access. Finding the desired video is crucial before beginning the trimming process. After locating your selected clip, tap it to open the editing interface.
Trimming Your Video
Trimming a video on an iPhone is a quick process that enhances your clips effectively.
Using the Edit Feature
Open the Photos app to begin. Locate the video you want to trim and tap “Edit.” The editing interface appears, displaying the timeline with handles on either end. To set your start and endpoint, simply drag these handles to your desired positions. A preview option allows for checking changes in real time, ensuring accuracy before finalizing. Users can also compare the original video with the edited version by tapping on “Cancel” if they want to revert. This tool offers intuitive control over video length without complicated software.
Adjusting the Video Length
Focus on the handles in the timeline. Dragging the left handle adjusts the beginning while moving the right handle changes the end of the clip. Fine-tune these adjustments for precise editing. Users can tap the play button to preview the edited section and make further refinements if necessary. Once satisfied, check for the “Done” option to confirm changes. Choose to save either as a new clip for preservation or overwrite the original to maintain your library’s organization. This flexibility makes it easy to create polished videos ready for sharing.
Saving and Sharing Your Trimmed Video
After trimming a video, users can easily save their work within the Photos app.
Saving Options
Options for saving abound once users finish editing their video. He, she, or they can choose to overwrite the original file, effectively replacing it with the trimmed version. Alternatively, selecting “Save as New Clip” creates a copy, keeping the original intact for future reference. This flexibility allows for different workflows, catering to preferences for organization and easy access.
Sharing Through Social Media
Sharing trimmed videos on social media platforms is not only fast but also seamless. Users can tap the share icon and select their preferred platform, such as Instagram, Facebook, or TikTok. Each option streamlines the process, letting users easily post their newly edited content. Social media’s accessibility makes showcasing personal moments, like vacation highlights or event recaps, effortless. By targeting various platforms, users can engage with friends and followers instantly.
Tips for Trimming Videos Efficiently
Select a quiet environment for the best audio quality in videos before trimming. Organizing clips properly in the Photos app saves time. Use specific dates or events to identify videos quickly.
Experiment with the handles on the timeline; adjusting them precisely ensures accuracy in setting the desired endpoints. Preview the video more than once to ensure satisfaction with the trim. Many users find that trimming in smaller segments works better, allowing for refined edits.
Consider the aspect of storytelling. Each clip should contribute to a cohesive narrative. This strategy enhances engagement when sharing on social media. Share moments that resonate with viewers, making edits that highlight essential parts.
Preview options provide immediate feedback. Comparing the trimmed video to the original helps in making informed decisions. Changes can be undone, so feel free to adjust clips as needed.
Saving trimmed videos with appropriate titles aids in organization. Users can categorize clips by subject or event for easier retrieval. This practice is particularly helpful for those who frequently edit videos.
Engage with friends and followers by sharing clips across various platforms. Videos trimmed effectively capture attention quickly, showcasing the most interesting aspects. Remember, the right trim can elevate the overall quality of the content, making it more appealing to audiences.
Utilizing the “Save as New Clip” option maintains the original video, providing flexibility in managing video libraries. This choice caters to various preferences, ensuring that nothing is permanently lost during the editing process.
Trimming videos on an iPhone is a valuable skill that enhances the quality of personal and social media content. With a few simple steps in the Photos app, users can easily create polished clips that capture the essence of their moments. The ability to preview edits ensures satisfaction before finalizing changes, allowing for creative expression without the need for advanced skills.
By following the outlined tips and techniques, users can organize their video library effectively and share engaging content with friends and followers. Embracing this straightforward process not only improves storytelling but also elevates the overall viewing experience, making each video more impactful.